I will warn you, once you make one you will be addicted. They are just too easy and pretty! And cheap! Plus, there is so much you can do with them.
Materials:
Choice of fabric
Choice of glue-- I used hot glue (even though we don't get along)
Felt (optional)
Get your fabric and cut a strip 1 inch wide by 24 inches long. After you make one you can adjust the length and width of fabric to your liking. Most of my strips are about 27 inches-ish. I say ish because I don't really measure things. No self respecting lazy crafter does! In the pictures I am using some pink burlap I bought at Hobby Lobby with a 40% off coupon (Woohoo!).

Fold the end of your strip in half and then fold it in half again.


Roll the end into the fabric a few times.

Tack it down with a spot of glue.

Take your fabric and twist it, it doesn't matter which way you twist it, but I twisted away from me rather than towards me.
 |
| See how the fabric is twisted back instead of towards the front? Either way works. |

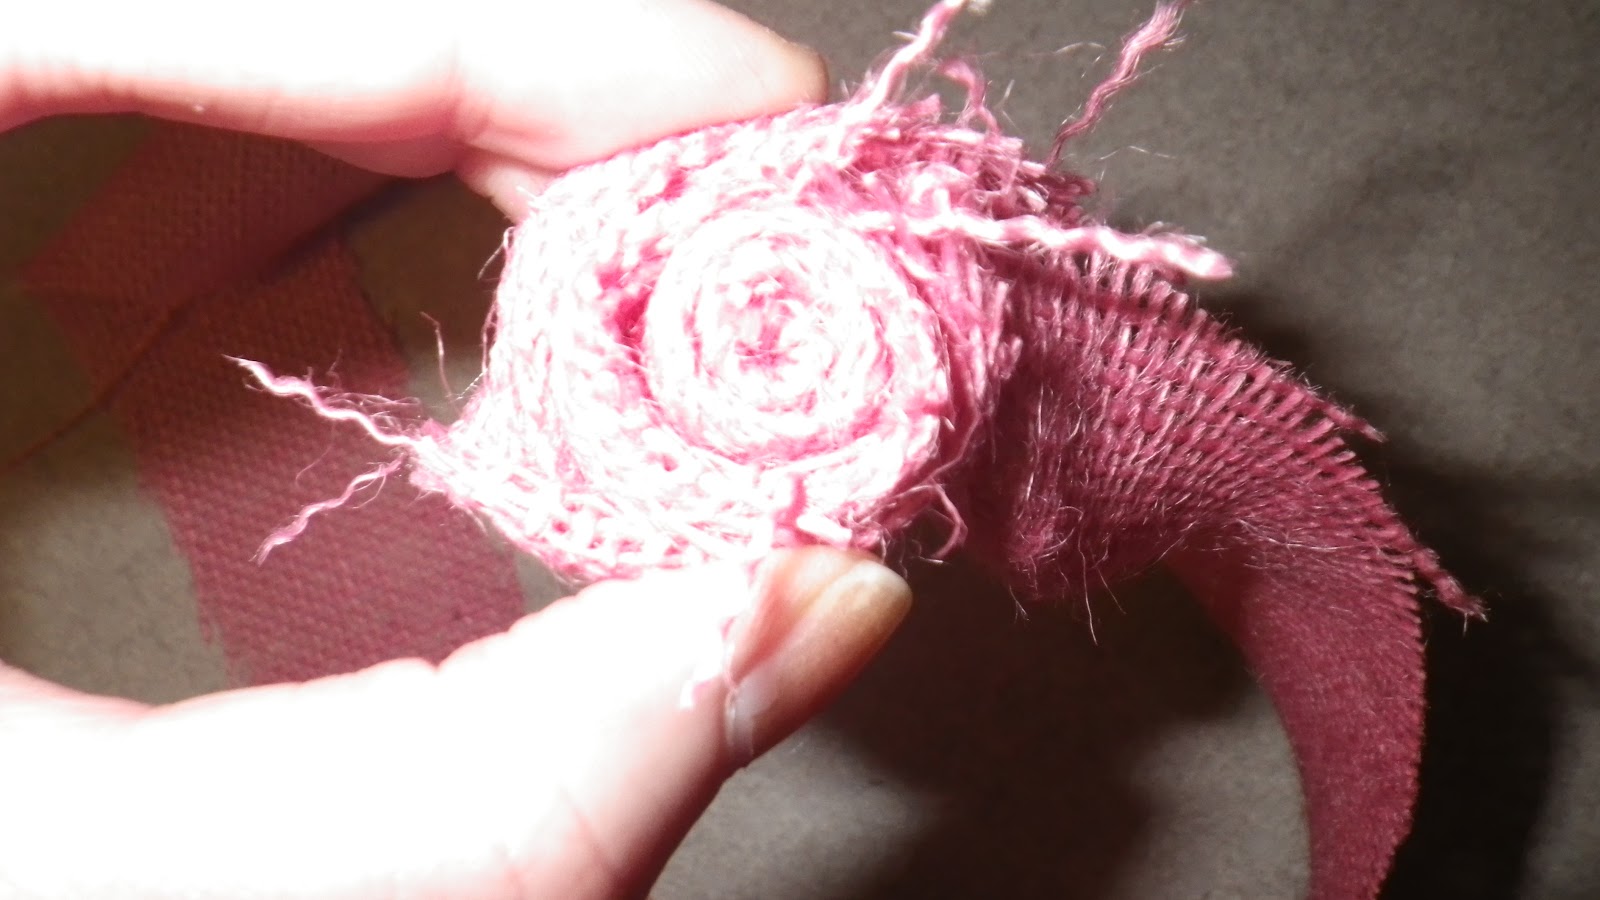
Twist and tack as needed.
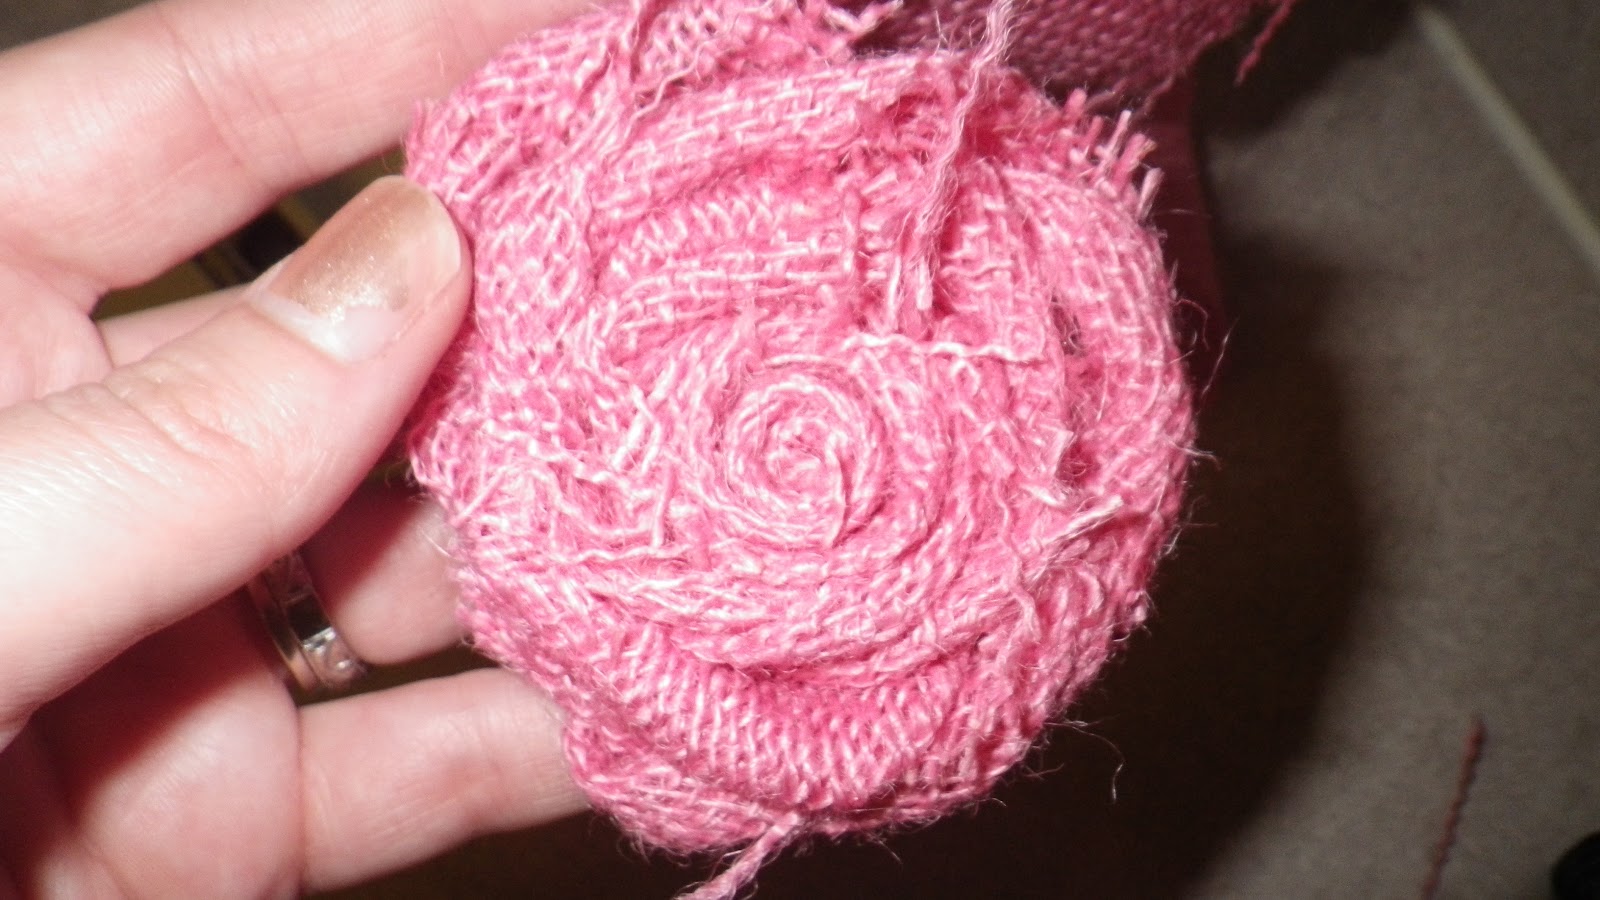
When you get to your desired size, flip it over and glue the tail of the fabric onto the back.
 |
| You can't tell, but this is the back and there is a glob of glue. I just folded the extra over and mushed (technical term alert). Then I trimmed the excess. |
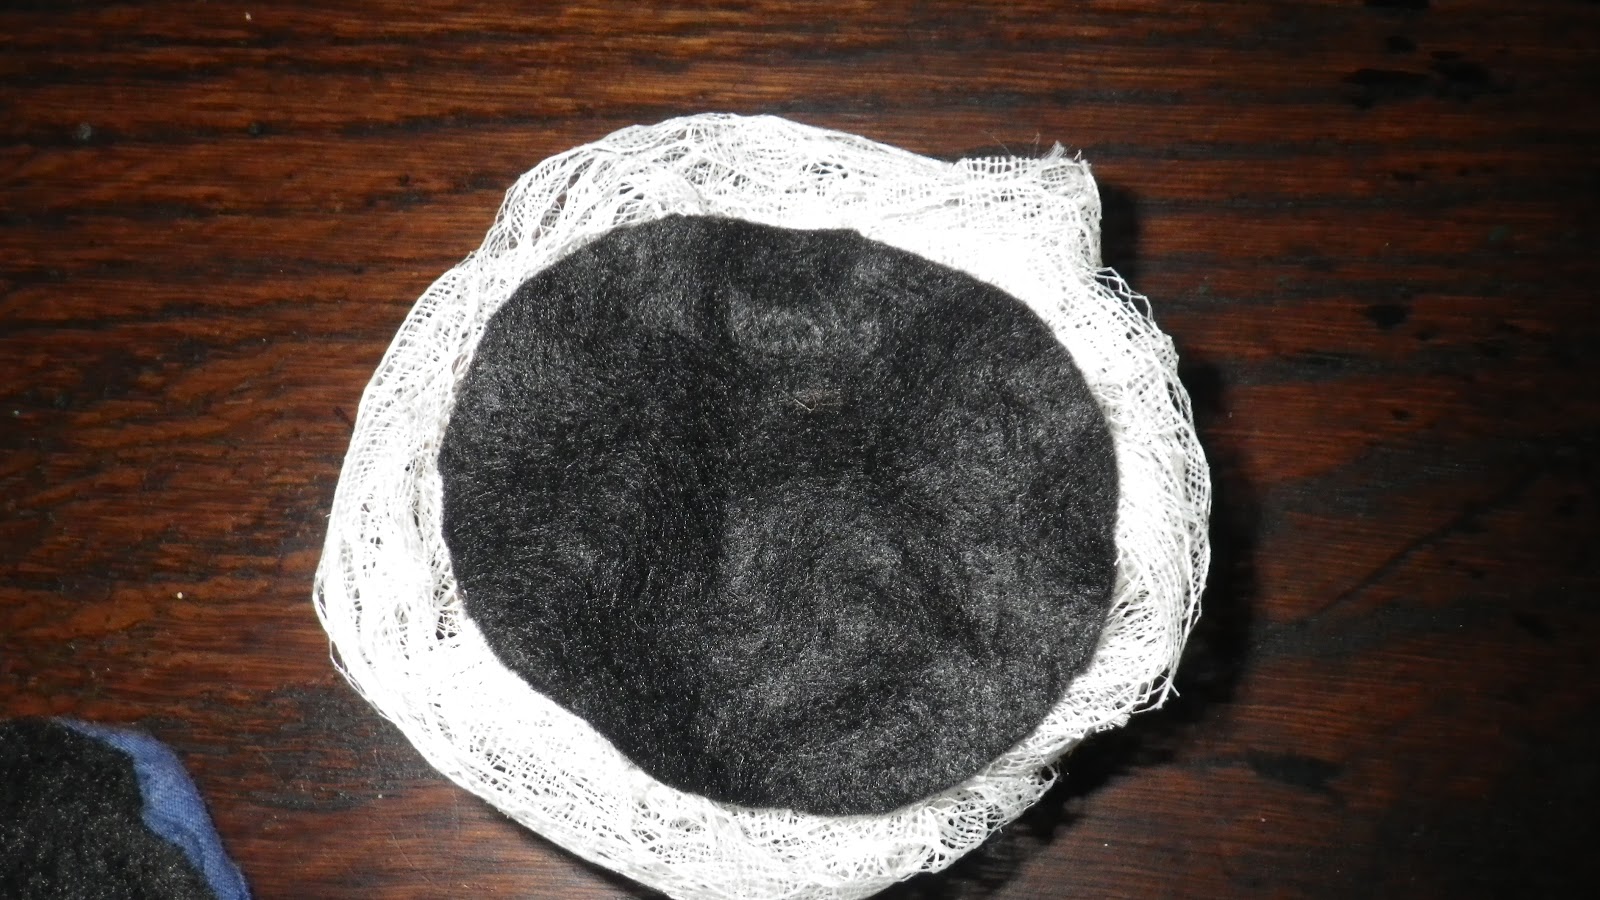
They are that easy! If you want a nice backing, get some felt and cut a circle and then hot glue to the back. Like this:


 |
| Methinks I cut too much felt. |
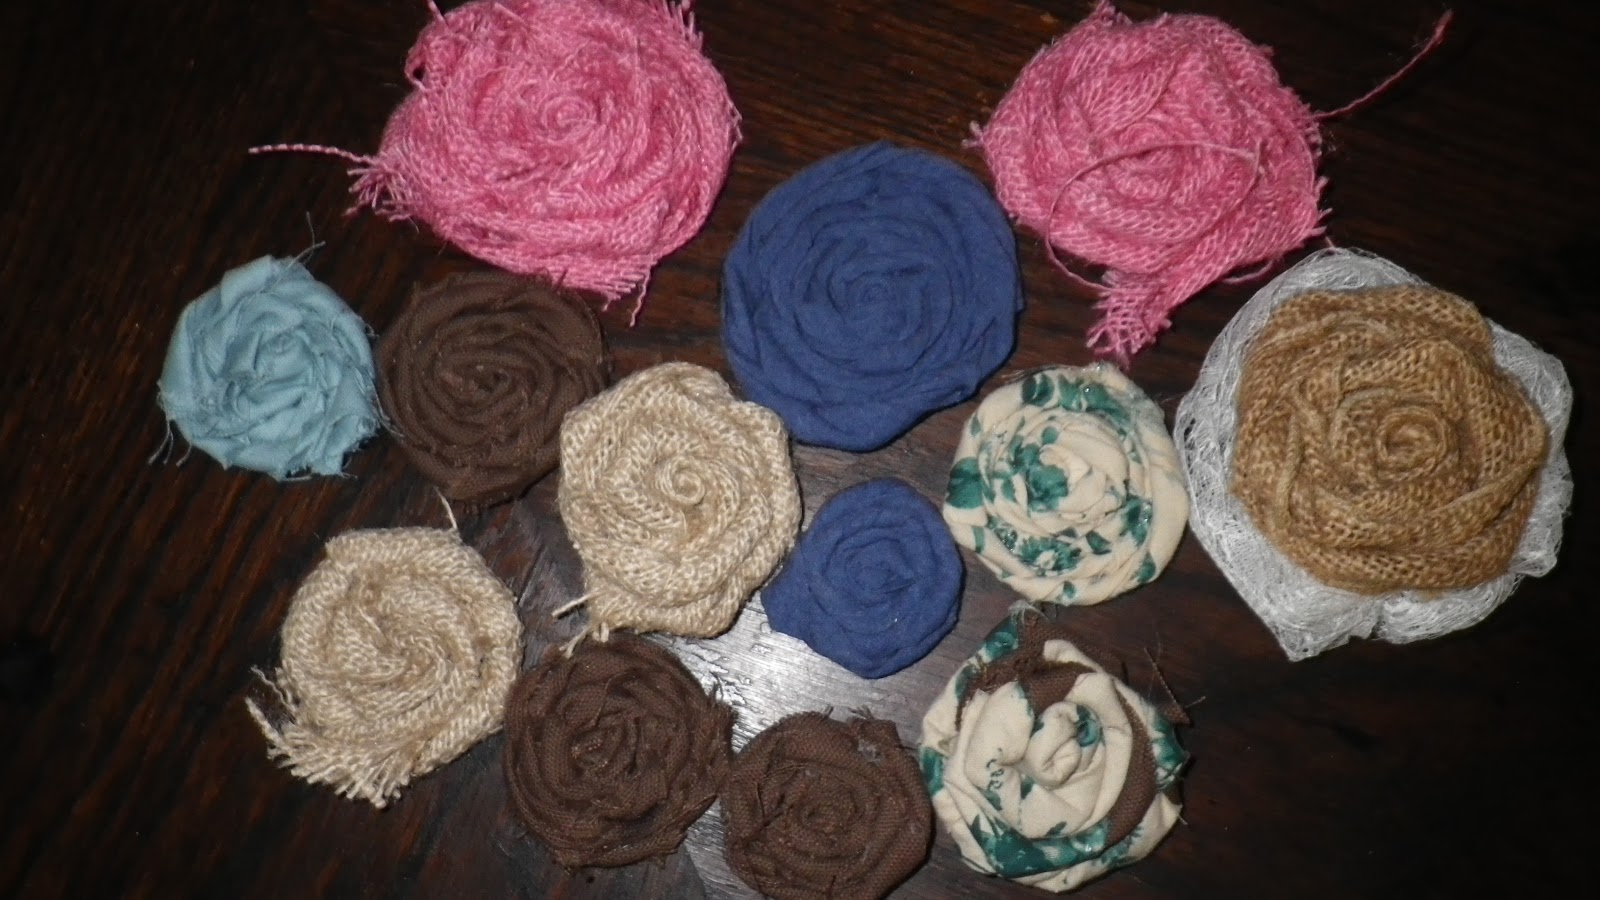
OK, so I made one.
Then I made two.
Then things got a little crazy up in here.


 |
| I have already sold this puppy on Etsy! |
I added several rosettes to some pillow covers. Want my fool proof method of making pillow covers? A step by step guide:
Get in your car.
Drive to McDonalds and get a large Dr.Pepper with extra ice. Sip and enjoy the bubbly goodness.
Drive to Hobby Lobby.
Find the curtain/pillow cover aisle (near the fabric).
Choose a pillow cover.
Purchase at will.
OK, so I didn't exactly make the pillow covers, but I did get them when they happened to be on sale for half off, which unfortunately the cashier told me never happened. The brown cover was 2.50 on sale, and the chevron print was 3.50. But even if you can't catch them half off, you can always buy one with a 40% off coupon. I think they are super cute!
So easy and cheap! You could add these to a wreath (as I did above). Or you could attach a few to a lamp shade. Or you could glue or sew one on a headband. Or you could put one on a pin and wear. Or you could make a necklace. Or you could make a bracelet. Did I mention I went a little crazy? Until next time!
Stay crafty, my friends.
No comments:
Post a Comment