I just wanted to post a quick something to let the few people who read this (shout out to my relatives :)) that I have recently chosen to start a .com type of website. I am learning all about it and it is taking me some time considering I am a dipstick when it comes to computers. But, when I have learned all I can learn and actually post something (in the next week, hopefully) I will link to this blog and let everyone know!
I am currently learning about Cpanels and Child themes and Plug-Ins while Adam is making me watch a documentary on The Eagles. He is so old... :)
Sunday, February 24, 2013
Wednesday, February 13, 2013
Rosettes are red, well mine are pink...
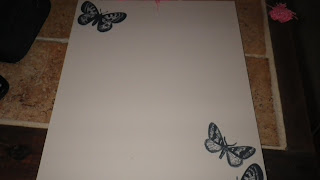
So... last time I mentioned that I went a little crazy with the fabric rosettes that I made. Today's post is further proof. A while ago my bff sent me a picture of a valentine craft. It looked something like this:

And I decided to try it with the supplies I had on hand, with some tweaking. I recently scored with some awesome shadow boxes that I got for 80% off at Michael's. I bought four!
When my CPA husband (who puts EVERYTHING we purchase in categories for budgeting reasons) wanted clarification on the receipt so he could decide into which category the shadow boxes should be placed, the conversation went something like this:
Adam: "Hey, Jill, what are these things on the Michael's receipt?"
Me: "They are shadow boxes."
Adam: "And what are those?"
Me: "They are cool boxes you put stuff in and hang on the wall."
Adam:"Why do we now have four?"
Me: "Because they will make good gifts."
Adam: "For who?"
Me: "I don't know yet. I could also use them in crafts. They were on sale!"
Adam: "But you bought four of them."
Me: "I know. But think of the possibilities. I want to put our own wedding stuff in one and I think it would be cool to do that for another couple when they get married as a wedding gift. Or I have seen where couples keep their ticket stubs from movies and plays throughout their relationship and put them in a shadow box to hang on the wall as sentimental art. Or I have seen where people put the outfit they brought their baby home in and the little bracelet the baby wears at the hospital in one. The possibilities are endless! Plus they were on sale!"
Adam: "But you bought four."
Me:"I know. Did I mention they were on sale?"
Adam (with a long suffering sigh): "I'm just going to mark them as supplies."
Conversations like that happen a lot in our home.
Anyway, back to the craft for today.
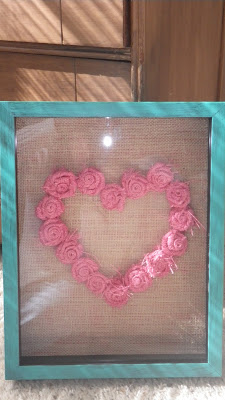
This was the original background of the shadow box. While I like it, it didn't fit with what I wanted so I covered it with pink sticky backed paper and covered that with natural burlap and hot glued the edges so it would lay nice and flat.


This is the original black metal frame. I painted it with some acrylic paint and sprayed a clear coat protector (after covering the glass with tape and newspaper).

Here is the finished product!

And I decided to try it with the supplies I had on hand, with some tweaking. I recently scored with some awesome shadow boxes that I got for 80% off at Michael's. I bought four!
When my CPA husband (who puts EVERYTHING we purchase in categories for budgeting reasons) wanted clarification on the receipt so he could decide into which category the shadow boxes should be placed, the conversation went something like this:
Adam: "Hey, Jill, what are these things on the Michael's receipt?"
Me: "They are shadow boxes."
Adam: "And what are those?"
Me: "They are cool boxes you put stuff in and hang on the wall."
Adam:"Why do we now have four?"
Me: "Because they will make good gifts."
Adam: "For who?"
Me: "I don't know yet. I could also use them in crafts. They were on sale!"
Adam: "But you bought four of them."
Me: "I know. But think of the possibilities. I want to put our own wedding stuff in one and I think it would be cool to do that for another couple when they get married as a wedding gift. Or I have seen where couples keep their ticket stubs from movies and plays throughout their relationship and put them in a shadow box to hang on the wall as sentimental art. Or I have seen where people put the outfit they brought their baby home in and the little bracelet the baby wears at the hospital in one. The possibilities are endless! Plus they were on sale!"
Adam: "But you bought four."
Me:"I know. Did I mention they were on sale?"
Adam (with a long suffering sigh): "I'm just going to mark them as supplies."
Conversations like that happen a lot in our home.
Anyway, back to the craft for today.

This was the original background of the shadow box. While I like it, it didn't fit with what I wanted so I covered it with pink sticky backed paper and covered that with natural burlap and hot glued the edges so it would lay nice and flat.

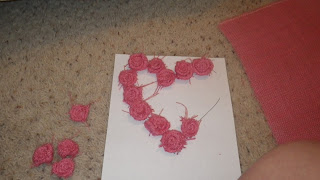
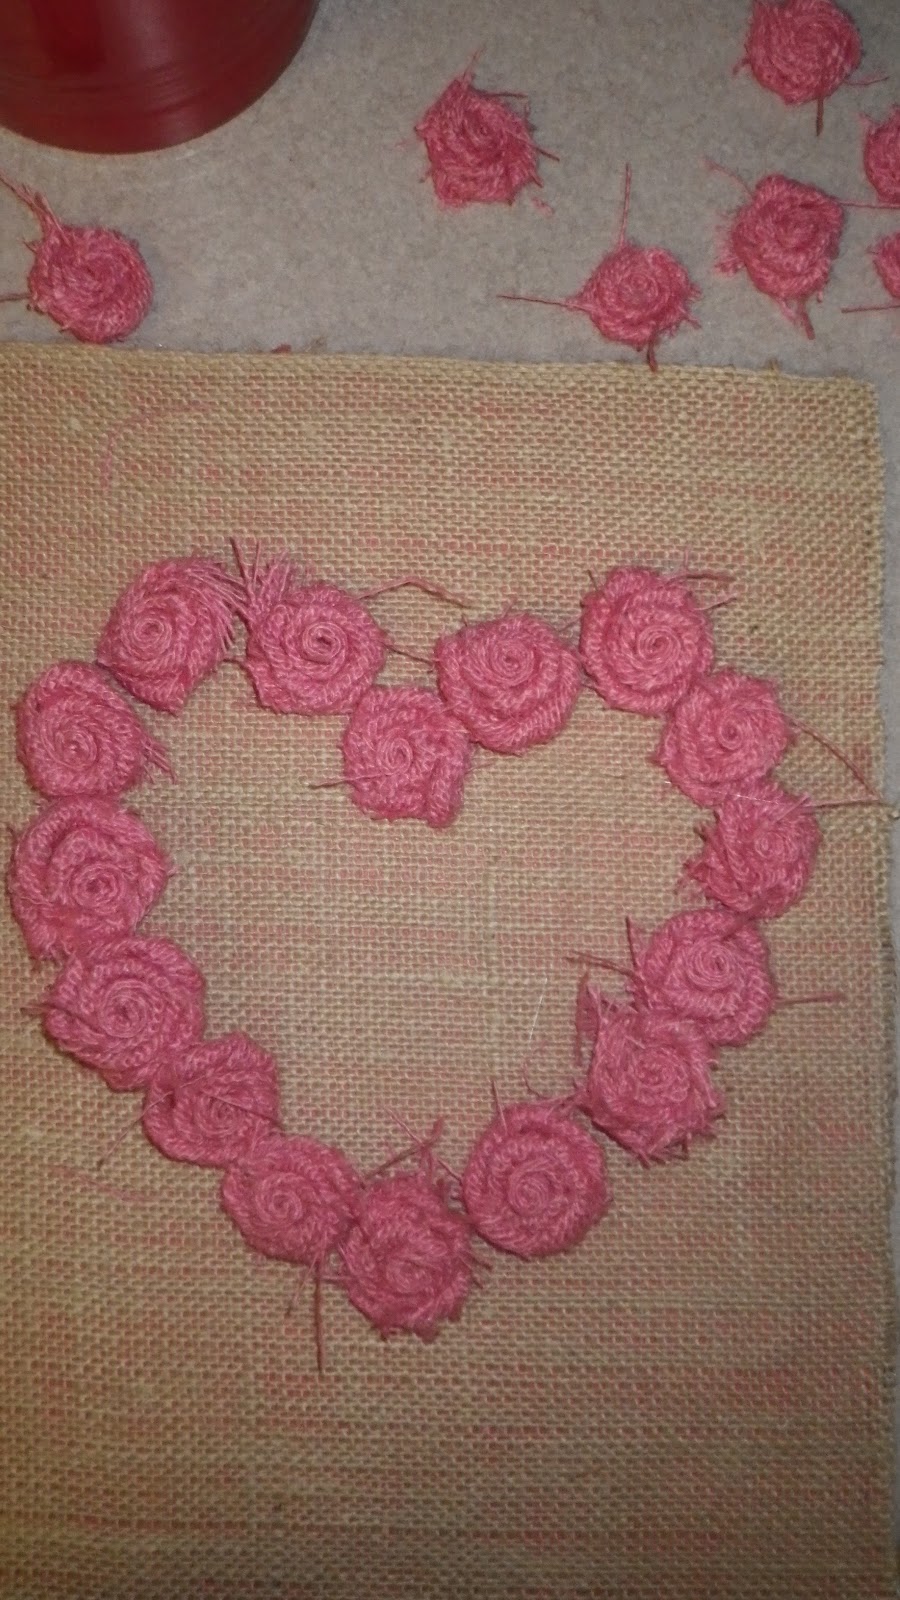
I printed out a heart on the computer and started making tiny rosettes using the method from the previous post . I decided to only do an outline instead of filling the heart. I liked it better.
I traced the heart with chalk onto the background and positioned the rosettes on the outline. I played with it some to make sure the spacing was right. Once satisfied, I glued those suckers down!
I traced the heart with chalk onto the background and positioned the rosettes on the outline. I played with it some to make sure the spacing was right. Once satisfied, I glued those suckers down!


This is the original black metal frame. I painted it with some acrylic paint and sprayed a clear coat protector (after covering the glass with tape and newspaper).

Here is the finished product!

 |
| Here it is with some ticket stubs. I think it looks cute! |
The total cost for this craft was around 5 dollars since the box was so cheap!
Stay crafty, my friends!
Sunday, February 3, 2013
Flower Power!
So, let's talk flowers. Well, fabric rosettes, to be exact. I came across a great tutorial from Freckled Laundry while web surfing. You can check it out, here!.
I will warn you, once you make one you will be addicted. They are just too easy and pretty! And cheap! Plus, there is so much you can do with them.
Materials:
Choice of fabric
Choice of glue-- I used hot glue (even though we don't get along)
Felt (optional)
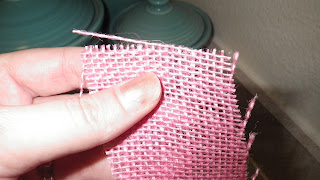
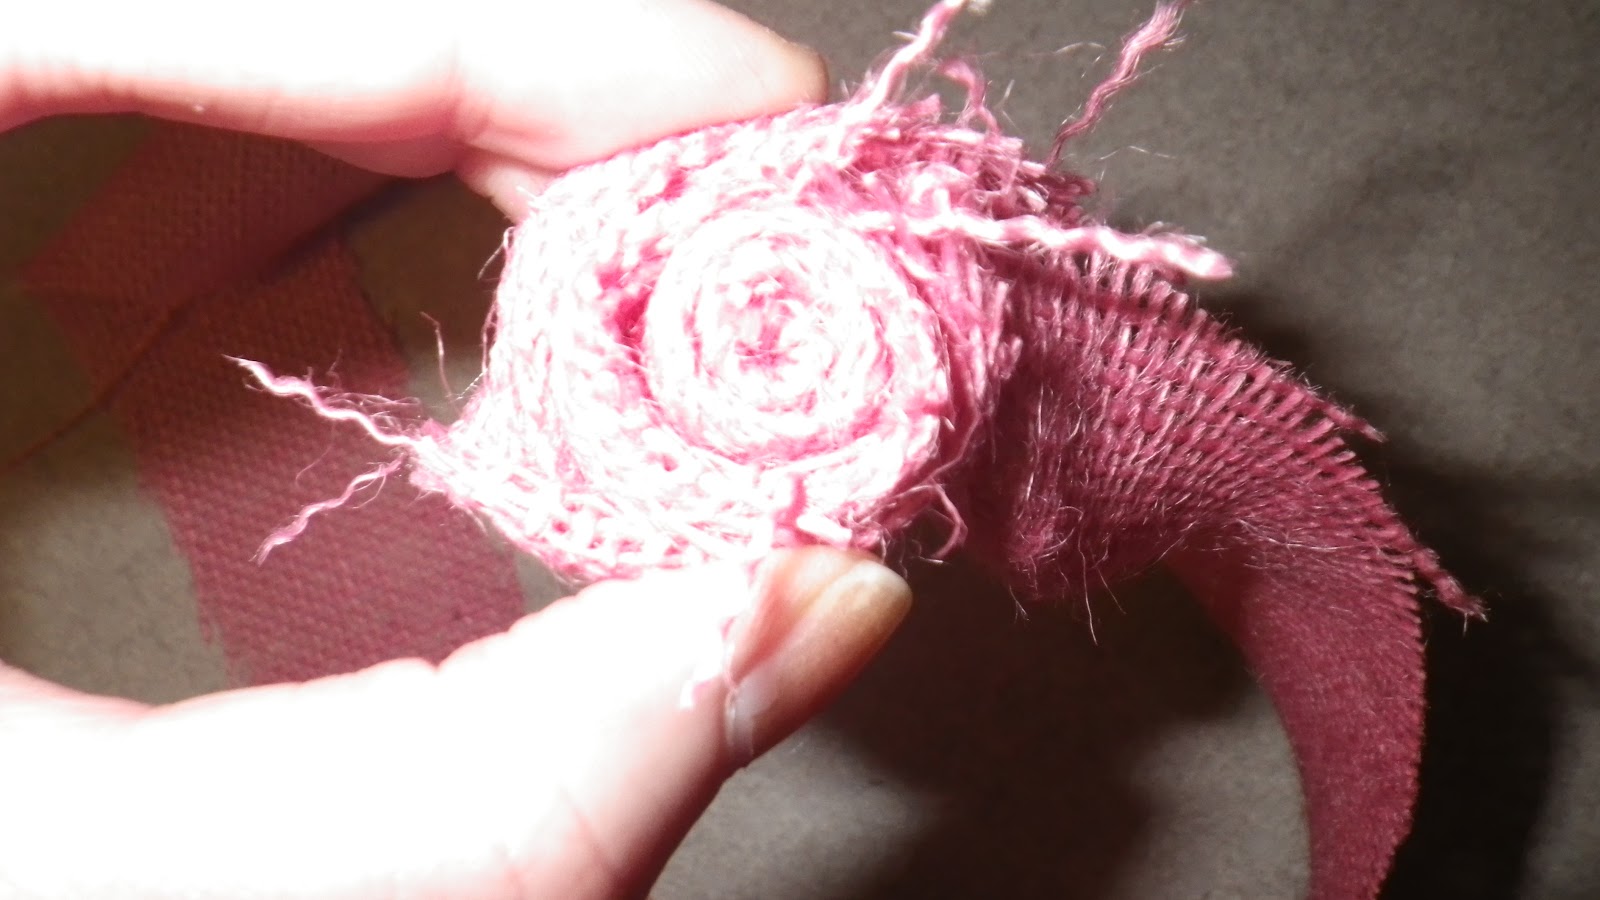
Get your fabric and cut a strip 1 inch wide by 24 inches long. After you make one you can adjust the length and width of fabric to your liking. Most of my strips are about 27 inches-ish. I say ish because I don't really measure things. No self respecting lazy crafter does! In the pictures I am using some pink burlap I bought at Hobby Lobby with a 40% off coupon (Woohoo!).
Fold the end of your strip in half and then fold it in half again.
Roll the end into the fabric a few times.
Tack it down with a spot of glue.
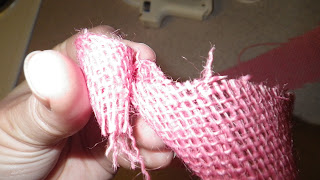
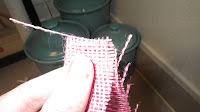
Take your fabric and twist it, it doesn't matter which way you twist it, but I twisted away from me rather than towards me.
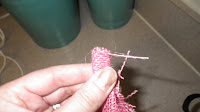
Tack with glue.Twist and tack.


 Another option is to start with the felt and glue the flower on as you go. Once complete, you can just trim the excess. I found this method easiest when making a large rosette.
P.S.- the blue rosette above was made with a strip of a t-shirt. Adam doesn't know it yet, but one of his shirts will now be baring his midriff. I kid, I kid.

I will warn you, once you make one you will be addicted. They are just too easy and pretty! And cheap! Plus, there is so much you can do with them.
Materials:
Choice of fabric
Choice of glue-- I used hot glue (even though we don't get along)
Felt (optional)
Get your fabric and cut a strip 1 inch wide by 24 inches long. After you make one you can adjust the length and width of fabric to your liking. Most of my strips are about 27 inches-ish. I say ish because I don't really measure things. No self respecting lazy crafter does! In the pictures I am using some pink burlap I bought at Hobby Lobby with a 40% off coupon (Woohoo!).

Fold the end of your strip in half and then fold it in half again.


Roll the end into the fabric a few times.

Tack it down with a spot of glue.

Take your fabric and twist it, it doesn't matter which way you twist it, but I twisted away from me rather than towards me.
 |
| See how the fabric is twisted back instead of towards the front? Either way works. |

Twist and tack as needed.
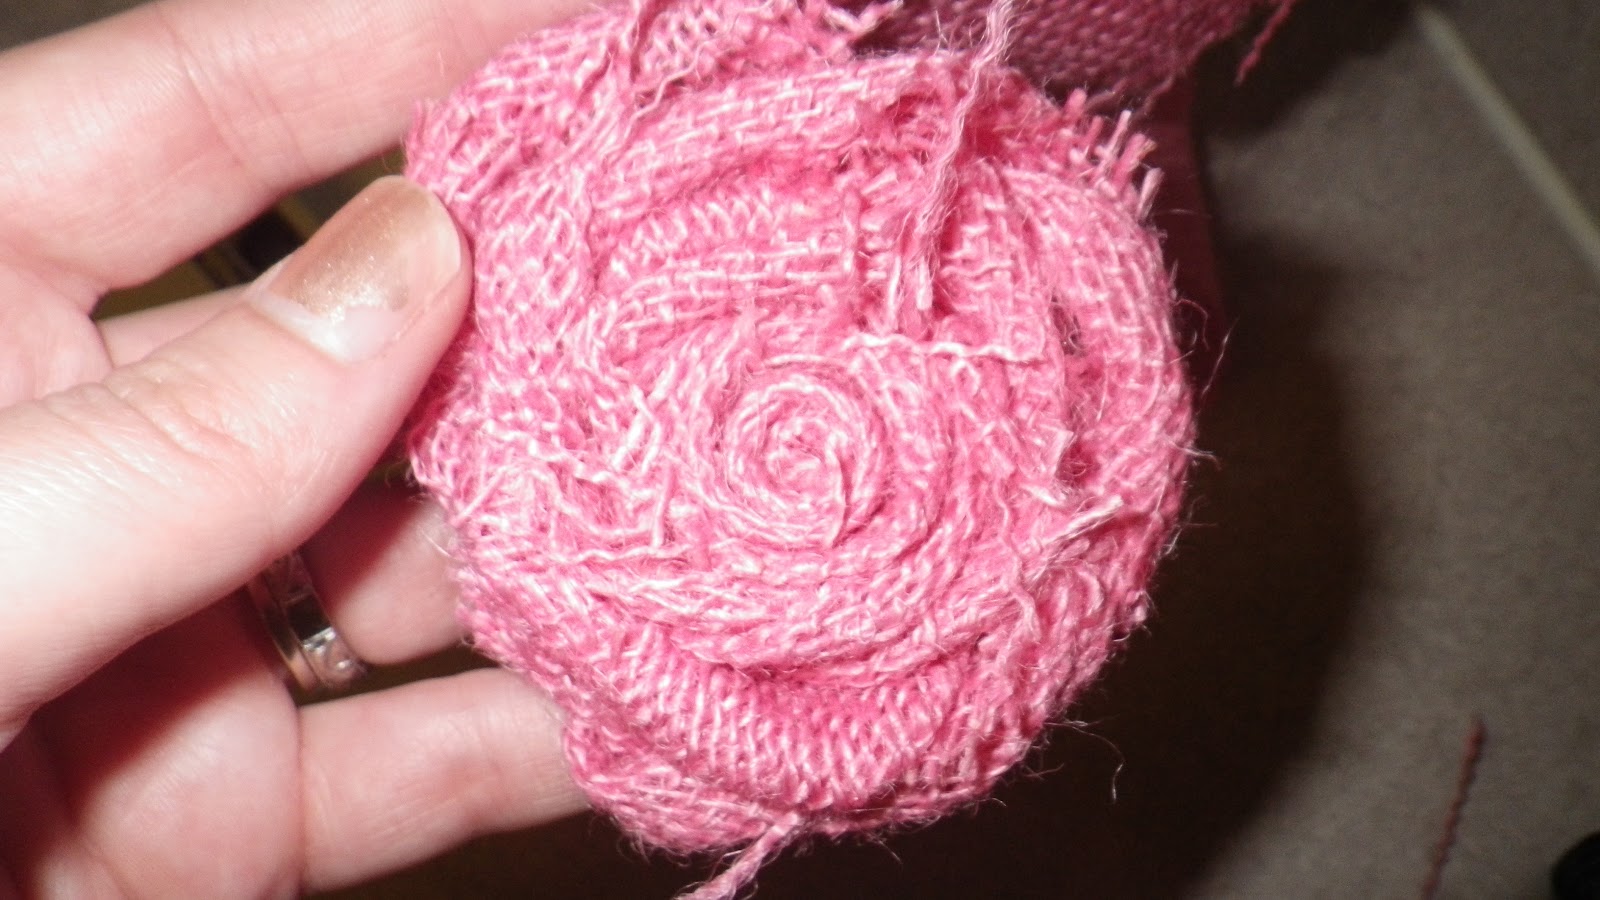
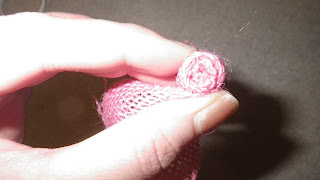
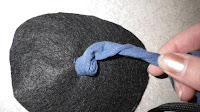
When you get to your desired size, flip it over and glue the tail of the fabric onto the back.
 |
| You can't tell, but this is the back and there is a glob of glue. I just folded the extra over and mushed (technical term alert). Then I trimmed the excess. |
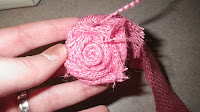
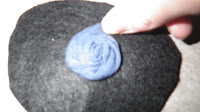
They are that easy! If you want a nice backing, get some felt and cut a circle and then hot glue to the back. Like this:
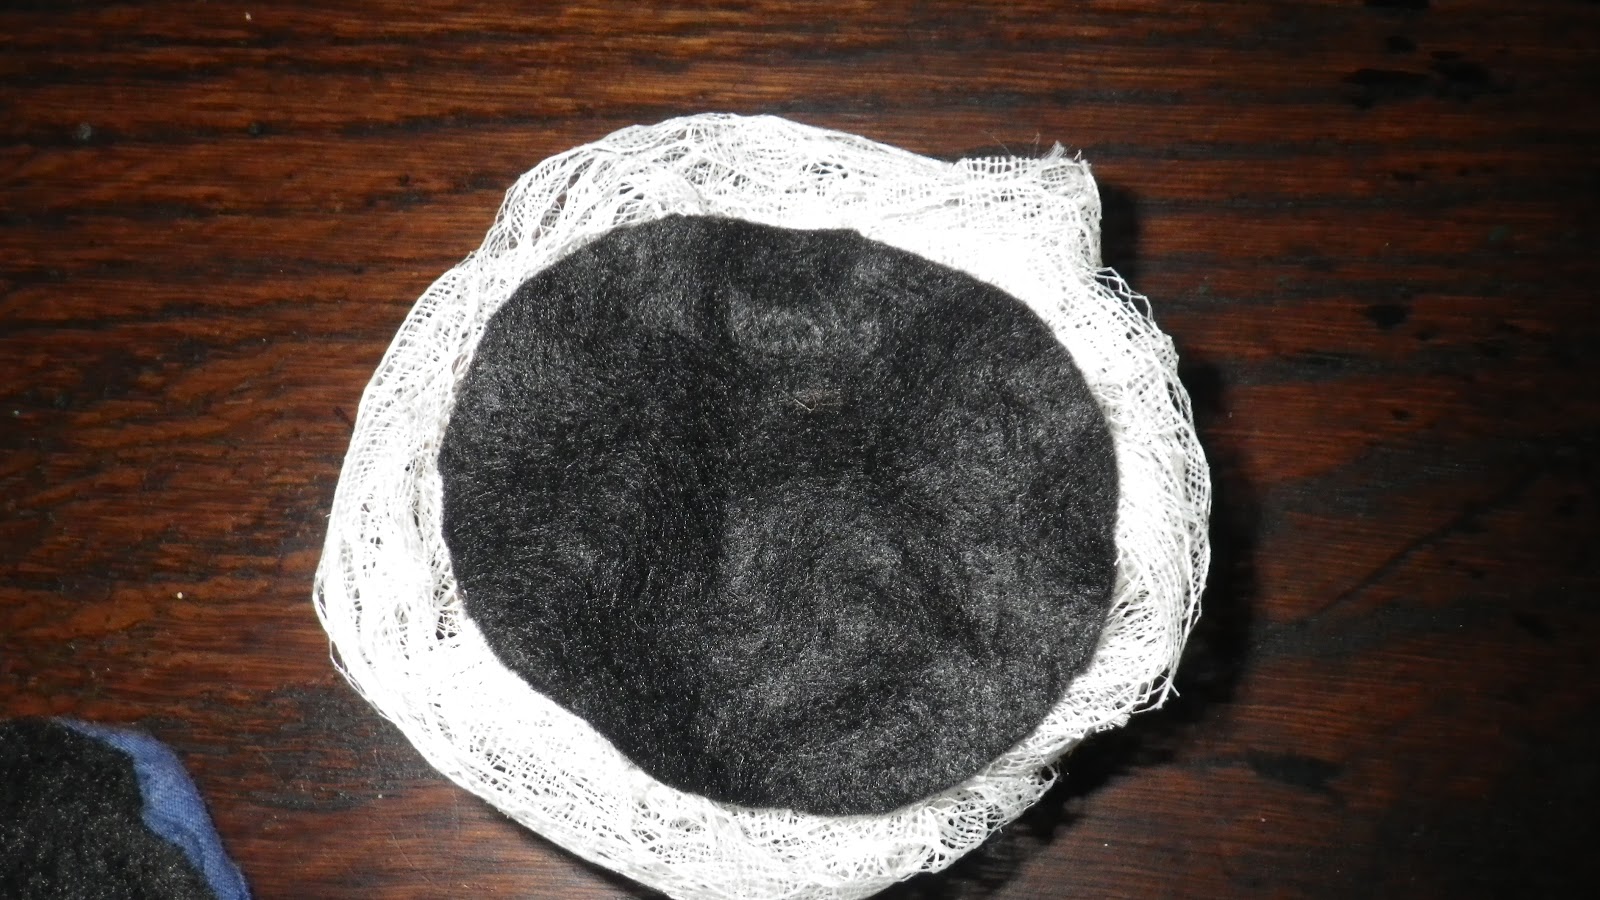


 |
| Methinks I cut too much felt. |
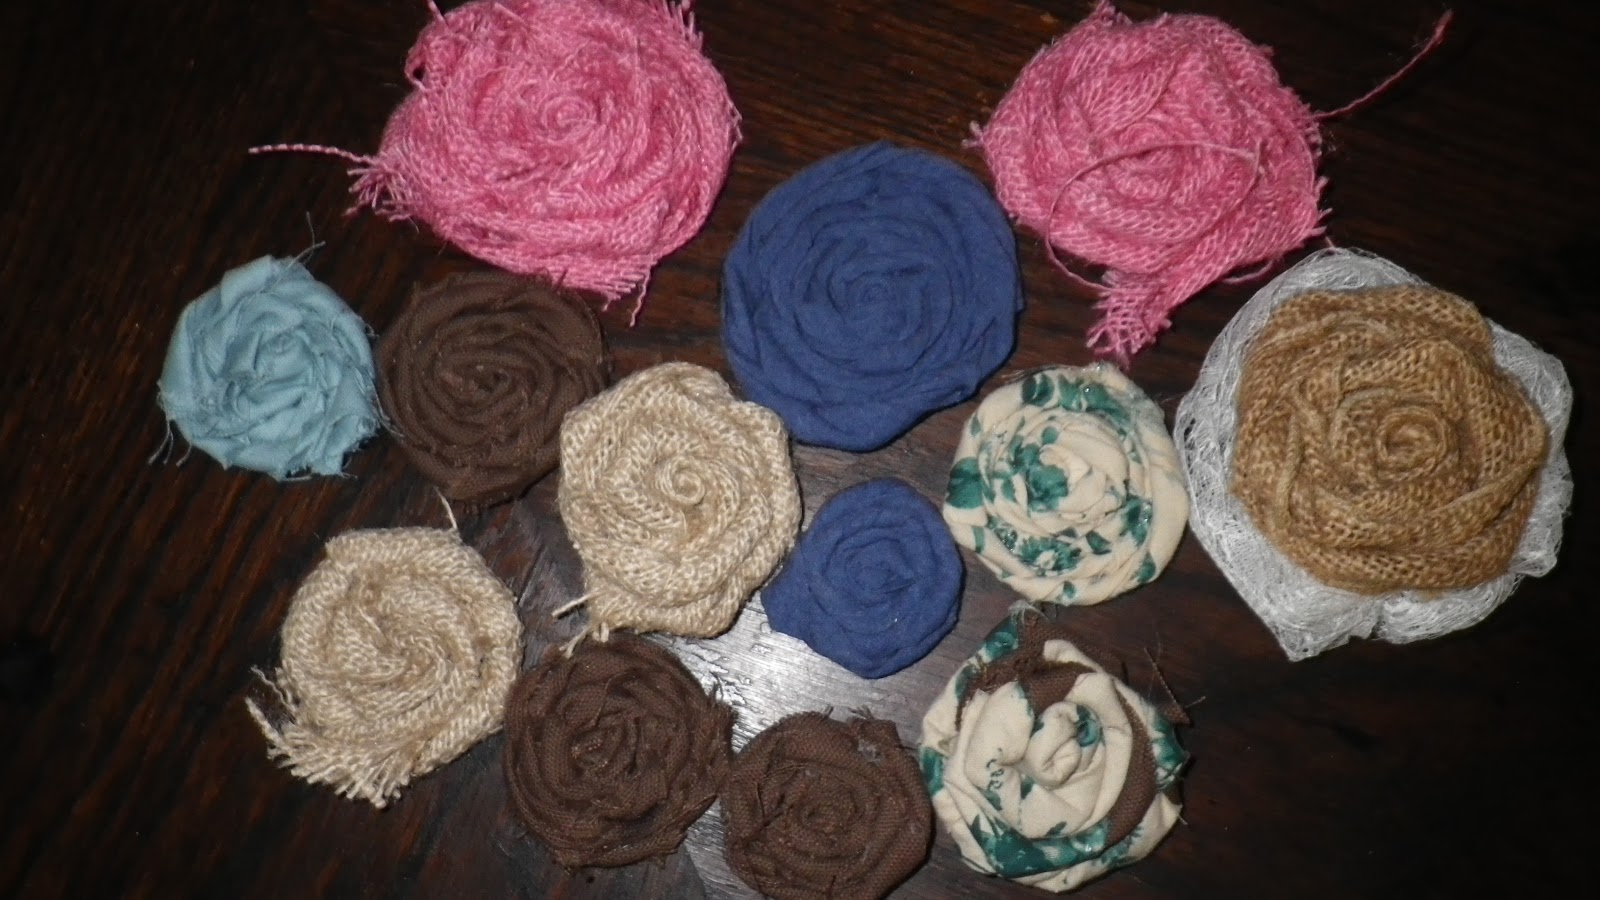
OK, so I made one.
Then I made two.
Then things got a little crazy up in here.


 |
| I have already sold this puppy on Etsy! |
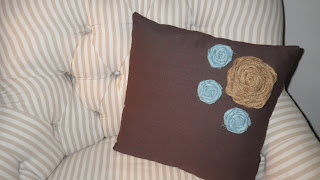
I added several rosettes to some pillow covers. Want my fool proof method of making pillow covers? A step by step guide:
Get in your car.
Drive to McDonalds and get a large Dr.Pepper with extra ice. Sip and enjoy the bubbly goodness.
Drive to Hobby Lobby.
Find the curtain/pillow cover aisle (near the fabric).
Choose a pillow cover.
Purchase at will.
OK, so I didn't exactly make the pillow covers, but I did get them when they happened to be on sale for half off, which unfortunately the cashier told me never happened. The brown cover was 2.50 on sale, and the chevron print was 3.50. But even if you can't catch them half off, you can always buy one with a 40% off coupon. I think they are super cute!
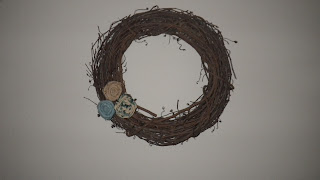
So easy and cheap! You could add these to a wreath (as I did above). Or you could attach a few to a lamp shade. Or you could glue or sew one on a headband. Or you could put one on a pin and wear. Or you could make a necklace. Or you could make a bracelet. Did I mention I went a little crazy? Until next time!
Stay crafty, my friends.
Subscribe to:
Posts (Atom)